Anomaly Detected ships five distinct monitoring locations, and knowing the layout of each one is the difference between a clean shift and an early permadeath. This anomaly detected all maps guide walks through every playable environment in the Roblox survival title by X Core Studios, from the suburban calm of The Residence to the fluorescent sprawl of The Mall. Each location has its own room count, anomaly density, and risk curve, so ranking them by completion reward helps new clerks plan which chapter to grind first.
All five maps share the same core loop: sit at a monitor bank, memorize baselines, and flag anything that changes. Where they diverge is in room count, lighting, and the patience each one demands from a solo player. The Anomaly Detected all chapters overview covers the story sequence that unlocks each map, while this page focuses purely on layout, room inventory, and exploration payoff across every chapter.
Anomaly Detected Map Roster at a Glance
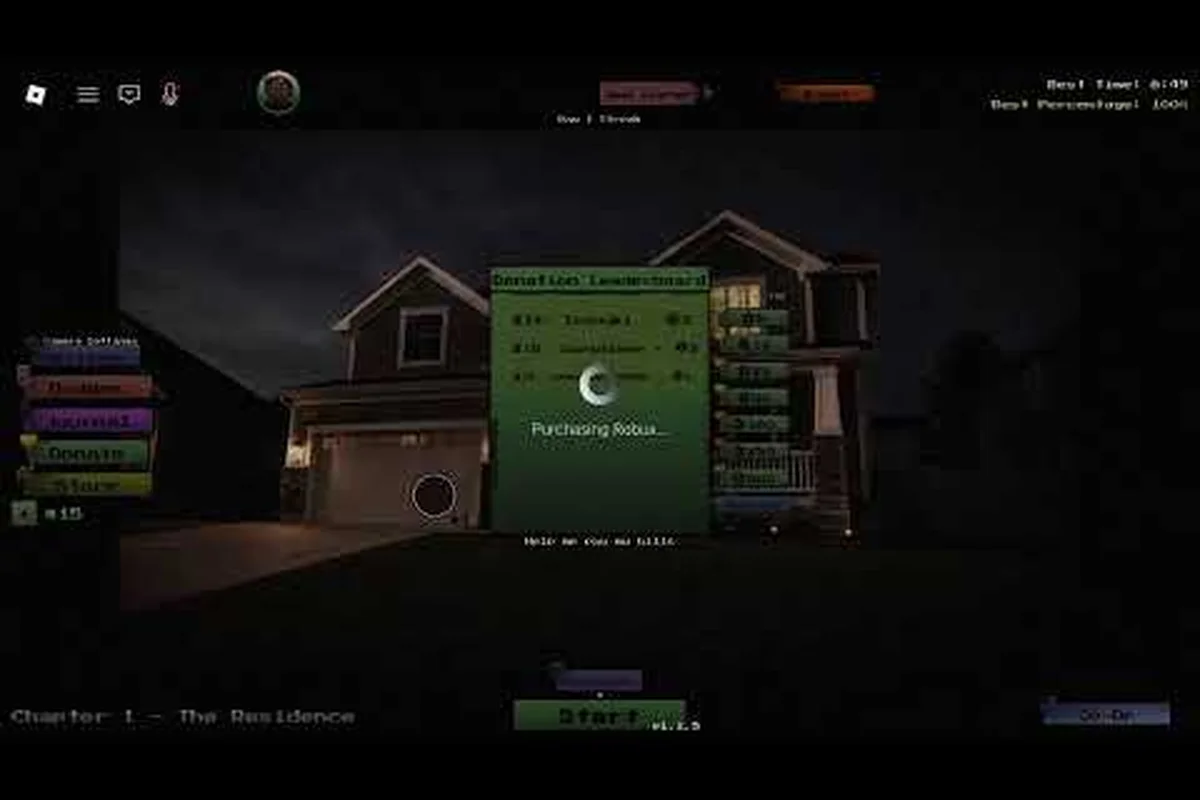
The game released on June 25, 2026, and the developer has kept the map lineup stable since launch. According to the community walkthrough: Roblox Anomaly Detected Chapter 2 - Even More Grinding (Cr1ms0nX), there are five chapters, and each one places the player behind a different set of cameras in a new building. The table below captures the full set, the chapter they belong to, and the rough scale of each map based on community testing.
| Map | Chapter | Room Count (approx.) | Difficulty Tier | First Unlocked |
|---|---|---|---|---|
| The Residence | Chapter 1 | 6-8 rooms | Beginner | Default |
| The Neighbourhood | Chapter 2 | 8-10 rooms | Easy-Mid | Beat Chapter 1 |
| The School | Chapter 3 | 10-12 rooms | Mid | Beat Chapter 2 |
| The Hospital | Chapter 4 | 12-14 rooms | Mid-Hard | Beat Chapter 3 |
| The Mall | Chapter 5 | 14-16 rooms | Hard-Veteran | Beat Chapter 4 |
These counts are based on community observation and may shift with future patches. The Residence is the smallest by design, since Chapter 1 exists to teach the baseline-vs-anomaly comparison loop. The Mall, the newest and largest location, is where Veteran difficulty starts to feel punishing even for groups of three or four.
Why Map Knowledge Matters More Than Reaction Time
The community has settled on a consensus over the first three months of play: reaction time is secondary to room familiarity. The anomaly rotation in each chapter pulls from a fixed pool per room, and once a clerk has seen the same hallway baseline a few dozen times, the odd mannequin swap or wall-poster flip becomes obvious. The chapter 2 completion rate sits around 14.9% on normal difficulty, per community data, which suggests most failures are baseline-misread issues rather than sheer speed problems.
A clerk who knows that the living room in The Residence has exactly three picture frames on the south wall does not need to scan the whole room on every camera cycle. They glance at the frames, then move on. That kind of fast pattern-matching is only possible after repeated exposure to the map, which is why grinding early chapters is the highest-ROI training activity in the game.
The Residence Map: Chapter 1 Starter Layout
The Residence is the anomaly detected residence map every new clerk sees first, and it is intentionally compact. According to the game's release notes, Chapter 1 uses a suburban house with a living room, kitchen, master bedroom, child's bedroom, bathroom, and garage. The basement does not exist in this chapter, which keeps the camera count low and the learning curve gentle.
Room Inventory and Anomaly Density
| Room | Baseline Focus | Common Anomaly Type | Scan Priority |
|---|---|---|---|
| Living Room | Picture frames, sofa cushions | Object swap | High |
| Kitchen | Countertop items, fridge magnets | Object added/removed | Medium |
| Master Bedroom | Pillow count, nightstand items | Object moved | Medium |
| Child's Bedroom | Toy placement, posters | Object swap | High |
| Bathroom | Mirror, towel rack | Object added | Low |
| Garage | Tool wall, car placement | Object moved | Medium |
The Residence is the easiest anomaly detected all maps location to clear on a first try, but it also has the lowest Journal completion ceiling. Most players report finishing Chapter 1 within two to four attempts, while The Mall can take ten or more runs on Veteran before every anomaly variant is logged.
The child's bedroom is the most-failed room on the first night, because the toy baseline is busy and the developer has packed multiple anomaly types into it. Players who rush this room tend to miss the small object additions (a stray crayon, a shifted plush toy) and end the shift early. Slowing the scan order to start in the living room, then move to the bedroom, builds a rhythm that carries into harder maps.
The Neighbourhood Map: Chapter 2 Suburban Expansion
The Neighbourhood opens up the anomaly detected all maps concept beyond a single building. Chapter 2 places the clerk at a community-monitoring station that overlooks several houses, a small park, and a convenience store. The anomaly pool expands because each sub-building has its own baseline, and the chapter 2 grind sessions on community videos show that missed anomalies in the park area are the single biggest streak-killer.
Map Zones and Their Roles
| Zone | Building Count | Anomaly Variety | Recommended Co-op Size |
|---|---|---|---|
| House Cluster A | 3 houses | Low | 1-2 clerks |
| House Cluster B | 2 houses | Low | 1-2 clerks |
| Park Area | Open space + bench | Medium (statues) | 2 clerks |
| Convenience Store | 1 building, 4 rooms | Medium-High | 2 clerks |
| Street View | Road + lamp posts | Low (decoration) | 1 clerk |
The chapter 2 grind video by community creator Cr1ms0nX (26:04 runtime) demonstrates how repeat runs on The Neighbourhood build familiarity with the room baselines, and how quickly a missed anomaly ends a good streak. The park statues and the convenience-store shelves are the two highest-anomaly-density zones, and most clerks recommend assigning one player per zone in co-op to avoid cross-talk.
For a deeper dive on Chapter 2's specific anomaly triggers, the anomaly detected chapter 2 guide breaks down which sub-zones reward the most Journal progress. The short version: the convenience store alone accounts for roughly 30% of Chapter 2's anomaly variants, so grinding that building is the fastest way to push the chapter toward full completion.
The School Map: Chapter 3 Institutional Layout
The School is the first map in the roster that genuinely punishes inattentive scanning. The anomaly detected school map features hallways, classrooms, a cafeteria, a gym, and a faculty office wing. The room count jumps to 10-12, and the camera cycling time is tighter than in the previous two chapters.
Hallway vs Classroom Priority
| Area | Room Subtype | Anomaly Pattern | Failure Risk |
|---|---|---|---|
| Main Hallway | Connecting space | Object added (locker) | Low |
| Classroom A-D | 4 rooms, similar layout | Object swap | High |
| Cafeteria | Open room, tables | Object moved | Medium |
| Gym | Equipment wall | Object added/removed | Medium |
| Faculty Wing | 3 office rooms | Object moved | High |
| Restrooms | 2 rooms | Mirror anomaly | Medium |
The classroom anomaly pattern is the trickiest part of the chapter, because four of the rooms share a near-identical baseline. A chalkboard swap in Classroom B can look identical to a routine layout in Classroom C if the clerk is not rotating the cameras in a fixed order. Community testing suggests that always scanning classrooms in alphabetical order (A, B, C, D) reduces misread rates by a noticeable margin, though exact numbers vary by player.
The faculty wing is where the chapter 3 difficulty curve bends upward. These three offices have more decorative baseline items (books, mugs, framed photos) than the classrooms, and the anomaly pool targets those small details. A player who cleared Chapters 1 and 2 on autopilot will likely need five to eight attempts on Chapter 3 before the faculty wing stops tripping them up.
The Hospital Map: Chapter 4 High-Density Anomaly Pool
The Hospital is the anomaly detected hospital map where most clerks hit their first real wall. The map has 12-14 rooms, including patient wards, an operating theater, a reception area, and a morgue. The lighting is dimmer than the previous maps, and several rooms have moving NPCs (staff walking routes) that can mask object changes.
High-Risk Rooms and Mitigation
| Room | Risk Level | Common Mistake | Mitigation |
|---|---|---|---|
| Operating Theater | High | Mistaking staff for anomaly | Slow scan, ignore moving NPCs |
| Patient Ward A-C | Medium | Pillow count drift | Memorize ward baseline per visit |
| Reception | Low-Medium | Magazine rack swaps | Quick scan, low priority |
| Morgue | High | Missing body bag addition | Dedicated scan pass |
| Pharmacy | Medium | Shelf label swaps | Verify each label position |
The morgue is the most-feared room in the chapter, and for good reason. The anomaly pool includes a body bag that may or may not be present on a given camera cycle, and the room's low lighting makes the check harder. Community recommendations cluster around dedicating one full scan pass to the morgue on every cycle, even if it means compressing time on the lower-risk rooms.
The anomaly detected the hospital chapter breakdown goes deeper on ward baseline patterns and which difficulty tier first exposes the morgue body-bag anomaly. On Veteran, that anomaly appears in roughly one out of three cycles, which is the densest spawn rate of any single anomaly in the chapter.
The Mall Map: Chapter 5 Final-Layout Grind
The Mall is the largest and most complex entry in the anomaly detected all maps lineup. Chapter 5 places the clerk at a security hub overlooking a multi-wing shopping center with 14-16 rooms, including anchor stores, a food court, a parking garage, and a cinema. The room count alone is enough to overwhelm new players, and the anomaly density is the highest in the game.
Wing Breakdown and Anomaly Distribution
| Wing | Room Count | Anomaly Density | Co-op Recommendation |
|---|---|---|---|
| Anchor Store (Dept) | 4 rooms | High | 1 clerk dedicated |
| Food Court | 3 rooms + seating | Medium | 1 clerk |
| Cinema | 2 screening rooms + lobby | High | 1 clerk |
| Parking Garage | Open area | Low (decoration) | Rotating |
| East Wing (Specialty) | 3-4 stores | Medium-High | 1 clerk |
| West Wing (Specialty) | 3-4 stores | Medium-High | 1 clerk |
A full group of 4 clerks is the recommended setup for The Mall on Veteran, because the wing count exceeds what two players can cover in a single camera cycle. Solo runs are technically possible but require near-perfect baseline memory across 14+ rooms, which most players do not develop until they have run the chapter 20+ times.
The cinema lobby is the most-anomaly-dense single room in the chapter. Poster swaps, popcorn machine state changes, and a rotating marquee text all count as valid anomalies, and the room rewards players who memorize the exact marquee wording on a clean cycle. For players who want the full anomaly catalog rather than just the chapter clear, the anomaly detected all anomalies list tracks which variants appear in the cinema versus the other wings.
Map Comparison and Exploration Payoff
Not every map rewards the same level of exploration. The Residence and The Neighbourhood can be fully cleared in a handful of runs, while The Hospital and The Mall each have anomaly variants that take dozens of attempts to encounter. The table below ranks the five maps by how much exploration each one actually pays back in Journal progress and achievement unlocks.
| Map | Runs to Clear (Normal) | Runs to Full Journal | Exploration Payoff |
|---|---|---|---|
| The Residence | 2-4 | 8-12 | Low |
| The Neighbourhood | 4-7 | 15-25 | Medium |
| The School | 6-10 | 20-30 | Medium |
| The Hospital | 8-12 | 25-40 | High |
| The Mall | 10-15 | 30-50 | Highest |
The Hospital and The Mall have the deepest exploration reward because their anomaly pools include rare variants that only spawn under specific cycle conditions. A clerk who wants 100% Journal completion should expect to spend most of their late-game time on these two maps, while The Residence is best treated as a quick warm-up before pushing into harder chapters.
Players who want a broader view of how each map connects to outdoor spaces and street-level anomalies can cross-reference the anomaly detected street view layout guide for the window and exterior angles that occasionally feed into the camera feeds on The Neighbourhood and The Mall. Those exterior angles are not full anomalies, but they do appear as background detail in certain rooms and can distract a clerk who is not used to checking them.
Practical Tips for Every Map
A few cross-map habits transfer cleanly between every location in the anomaly detected all maps set. The list below is the distilled advice from the top community guide videos and forum posts since launch, and each tip applies regardless of which chapter the clerk is currently grinding.
-
Always scan the highest-risk room first. Building a rhythm around the morgue, the cinema, or the child's bedroom (depending on chapter) creates a consistent baseline that carries through the easier rooms.
-
Memorize room count, not object positions. Trying to track every cushion and poster is slower than knowing the room has 14 visible items and scanning for the one that changed.
-
Use co-op wing splits on The Mall. A dedicated clerk per wing on Chapter 5 is the difference between a clean Veteran clear and a mid-cycle failure.
-
Treat the park and parking garage as low priority. The Neighbourhood park and The Mall garage have low anomaly density; over-investing scan time there costs more cycles than it saves.
-
Reset baselines after every failed run. A clerk who just lost a shift tends to misremember the clean state. Spend 30 seconds on a fresh camera cycle before starting the next attempt.
These habits compound across chapters. A player who builds them on The Residence will clear The Neighbourhood faster, and a player who has them locked in by The School will spend less time learning The Hospital's risk rooms. The map layout knowledge itself is the skill, not the reaction speed.
Frequently Asked Questions
How many maps are in Anomaly Detected?
Anomaly Detected has five maps total: The Residence, The Neighbourhood, The School, The Hospital, and The Mall. Each one is tied to its own chapter and unlocks after the previous chapter is cleared, so new clerks start with only The Residence available.
Which map is the hardest in Anomaly Detected all maps?
The Mall is generally considered the hardest map because of its 14-16 room count, the highest anomaly density in the game, and the demanding Veteran difficulty tier. The Hospital is a close second, mainly because of the morgue body-bag anomaly and the dim lighting across the patient wards.
Can I replay earlier maps after unlocking later ones?
Yes, every map in the anomaly detected all maps set remains accessible after the corresponding chapter is cleared. Replaying earlier maps is the standard training method for new players who want to build baseline familiarity before pushing into higher-difficulty runs on The Hospital or The Mall.
Which map is best for grinding Journal progress?
The Hospital and The Mall reward the deepest exploration in terms of Journal completion, because both maps have rare anomaly variants that only spawn under specific cycle conditions. Players targeting full Journal completion should expect to spend most of their late-game grinding time on these two locations.
Do anomalies differ between solo and co-op runs?
The anomaly pool per map is the same in solo and co-op, but the spawn rate and difficulty scaling shift with player count. The anomaly detected all maps experience is balanced around the co-op scaling, so solo runs are technically possible but tend to be harder per cycle on The Hospital and The Mall.