Maps
Anomaly Detected map and camera layouts for all five contracts: which camera covers which room, where the blind spots are, and the sweep order that compensates for each one.
Introduction
Maps is the reference section you keep open on a second screen while you play. Knowing what an anomaly looks like is only half the problem in Anomaly Detected; the other half is knowing which camera is showing you which room, and which corners no camera covers at all. Every contract is built from a small set of rooms, and each room is watched by a fixed camera with a fixed angle. That means blind spots are deterministic rather than random. A camera mounted above a doorway cannot see the wall immediately beneath it; a ward camera pointed at a bed may never show the corridor behind it. Once you know where those gaps are, the sweep stops being a matter of hope and becomes a route. The five maps also differ structurally in ways that change how you should allocate attention. The Residence is a single bedroom with a handful of feeds, so one player can cover everything. The Neighbourhood spreads across several exterior frames where large, slow details like vehicles are easy to stop checking. The School has corridors that reward zoom discipline, and the Hospital and The Mall are large enough that a single watcher physically cannot hold every camera at once.
Camera Coverage by Location
| Location | Camera Style | Coverage Strength | Known Blind Spot |
|---|---|---|---|
| The Residence | Interior bedroom angles | Near-total — few feeds, short cycle | Wall directly beneath the window |
| The Neighbourhood | Exterior street and window feeds | Wide frames, small details | Driveways at the frame edge |
| The School | Long corridor sightlines | Distance visible, detail tiny | Stairwell landings between floors |
| The Hospital | Ward and partition views | Reflective surfaces read as rooms | Floor behind glass partitions |
| The Mall | Storefront and escalator feeds | Highest feed count in the game | Under the escalator landing |
Map Coverage
The Residence
Chapter 1 — bedroom layout
The Neighbourhood
Chapter 2 — exterior cameras
The School
Chapter 3 — corridors and classrooms
The Hospital
Chapter 4 — wards and glass
The Mall
Chapter 5 — the largest map
Core Mechanics
Map knowledge changes what a sweep actually is. Without it, a shift is a sequence of cameras you look at; with it, a shift becomes a route with a known beginning, a known order and a known set of places where coverage fails. The mechanical reason is that every camera in the game has a fixed position and a fixed cone, so the blind spots are properties of the building rather than of a particular run. That makes them learnable, and once they are learned the anxiety of "did I miss something" is replaced by a specific, answerable question about specific regions. Maps also interact with the anomaly classes more than players expect. Wide exterior frames make large details like vehicles easy to stop checking, long corridors make small details hard to resolve without zoom, and reflective surfaces turn a room you can see into a room you are only reading indirectly. Each of those is a map property first and an anomaly property second, which is why the same anomaly class feels different depending on the contract. Finally, the feed count itself is a resource. Smaller maps let one player hold every camera; the largest maps do not, and that is the point at which dividing the bank between co-op players stops being a preference and becomes the only workable approach.
Advantages
The advantage of learning layouts properly is that it removes the largest source of wasted time in a shift. A player who knows which camera covers which room can move through the feeds at a fixed pace instead of lingering on ambiguous frames, and that fixed pace is exactly what keeps a sweep inside the reporting window on higher tiers. Map knowledge also makes zoom efficient. Knowing that the School corridor camera compresses distance tells you where zoom is worth spending and where it is not, which is a distinction that costs a new player a lot of clock. Blind-spot awareness is a quieter but larger benefit: once you know a region is genuinely uncovered, you stop trying to watch it and start weighting your attention toward angles that actually reward it. Finally, coverage mapping is the foundation of co-op planning. Assigning each player a slice of the feed bank only works when everyone knows which physical spaces those slices represent, otherwise the group covers some rooms three times and others not at all.
Challenges
Every layout reference here is descriptive rather than authoritative. The game does not publish camera positions or coverage maps, so this section is assembled from observation across many shifts, and small details — particularly blind-spot boundaries — can shift when the developer adjusts a camera or rebuilds a room. The newest content is the least stable: The Mall was added recently and is the largest map in the game, so its coverage notes will be revised more often than those for The Residence. There is also a real limit to what a written layout can do. Describing a blind spot does not build the habit of checking it, and the players who benefit most from this section are the ones who use it as a checklist during actual runs rather than reading it once. Finally, camera coverage is not the only variable. Lighting and room contents change what a camera can meaningfully show, so a region that is technically covered can still be practically unobservable in a dim room.
Frequently Asked Questions
Why does camera coverage matter more than I expected?+
Should I learn one map thoroughly or spread my time across all five?+
Is there a way to cover a blind spot, or is it simply lost?+
Quick Tips
Name the room out loud as you check each camera. Naming forces your attention to actually land on the current feed instead of drifting back to the one that looked slightly odd two cameras ago, and it makes the sweep a sequence of deliberate checks rather than a blur. It makes the sweep a sequence of deliberate checks rather than a blur of monitors you never fully registered.
Learn the blind spots of your favourite chapter before you push it to a higher difficulty. A tier that tightens the reporting window leaves no room for re-sweeping a wall that no camera covers, so knowing where coverage genuinely fails lets you stop spending time on regions that can never pay off.
Zoom on every door, window and glass surface before declaring a frame clean. Doorways and reflective panels are where figure anomalies read, and a silhouette that occupies a few dozen pixels on an ordinary sweep becomes an obvious shape the moment you zoom in on it deliberately. A silhouette occupying a few dozen pixels becomes an obvious shape the moment you zoom in on it deliberately.
Featured
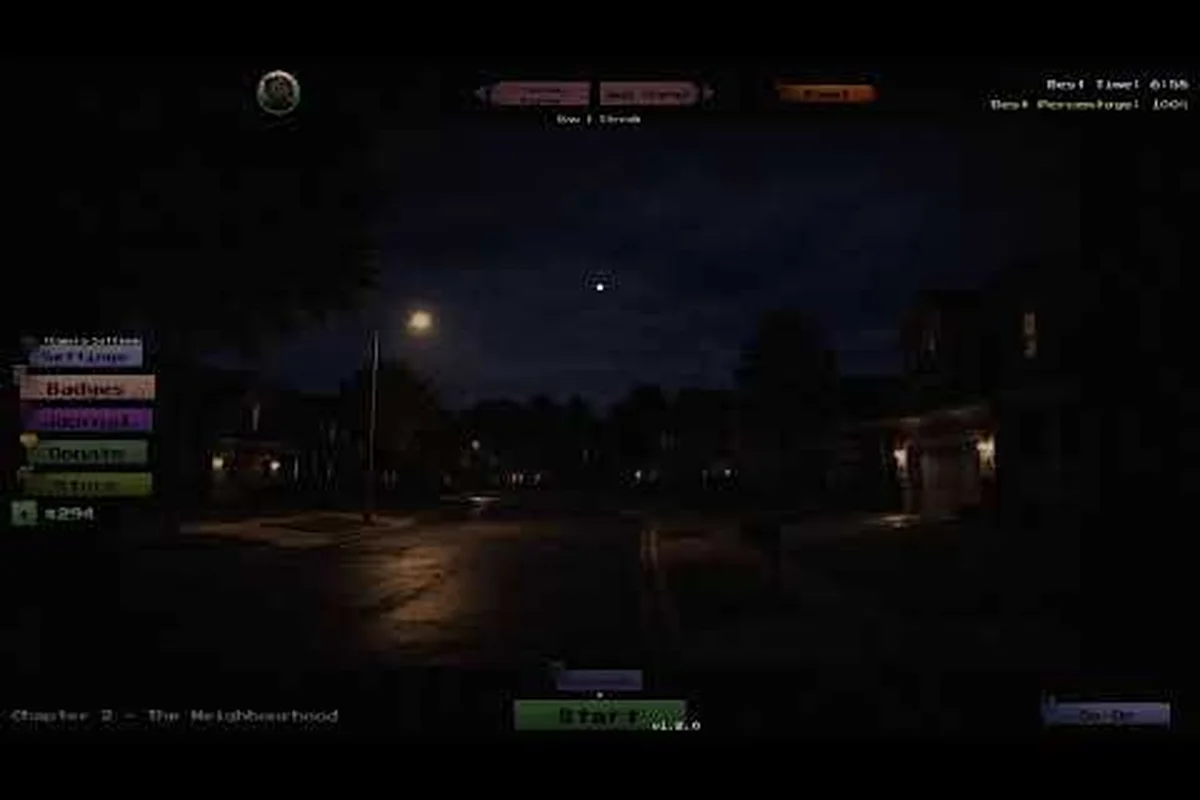
Anomaly Detected Camera Layout: Positions, Angles & Coverage
Map the full Anomaly Detected camera layout with every position, viewing angle, and overlap zone so agents can spot anomalies without cycling blind spots.
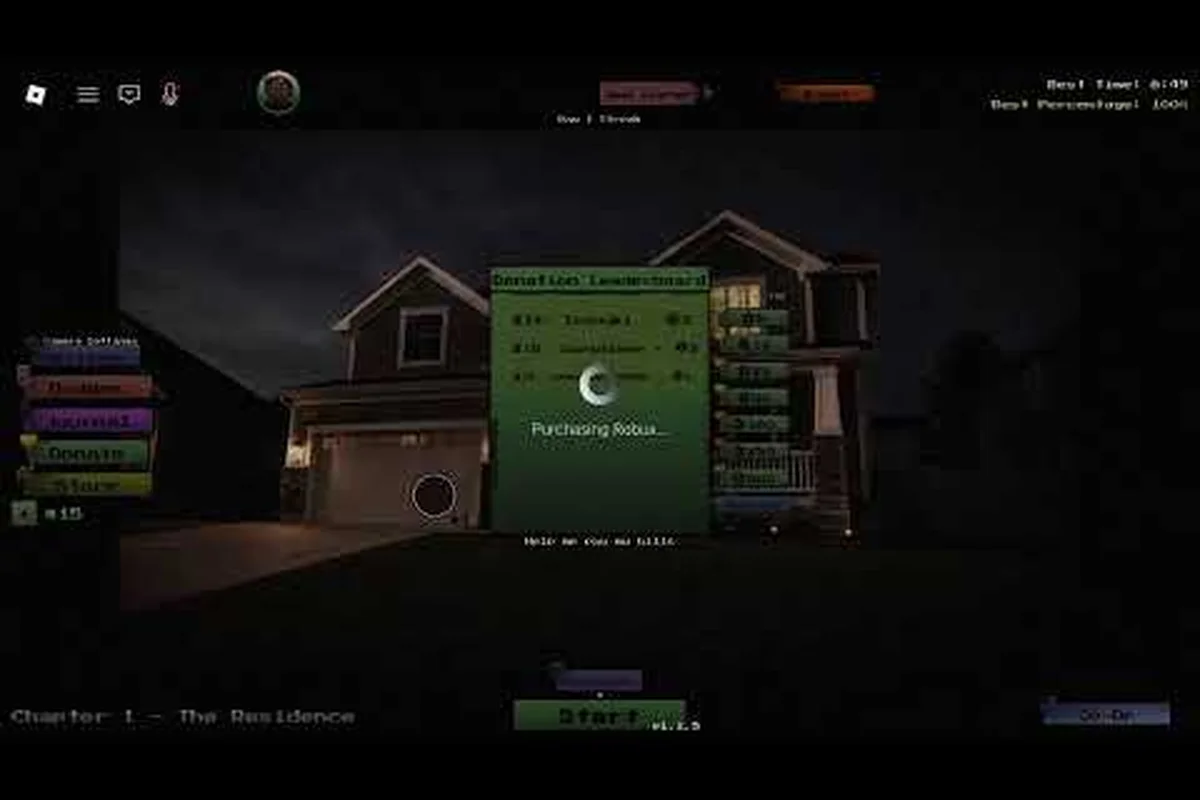
Anomaly Detected Best Vantage Point: Camera Angles & Zoom Spots
Lock in the Anomaly Detected best vantage point with the strongest camera angles, ideal zoom range, and bedroom angles that expose anomalies before they spawn.
Anomaly Detected All Maps: Residence, School & More
Tour every anomaly detected all maps location from The Residence to The Mall, with key rooms and which chapters reward the deepest exploration.
All Articles
Anomaly Detected Camera Feeds: Monitor Layout Guide
Master anomaly detected camera feeds with the full monitor layout, room-by-room view order, and blind-spot checks that keep anomaly reports accurate.
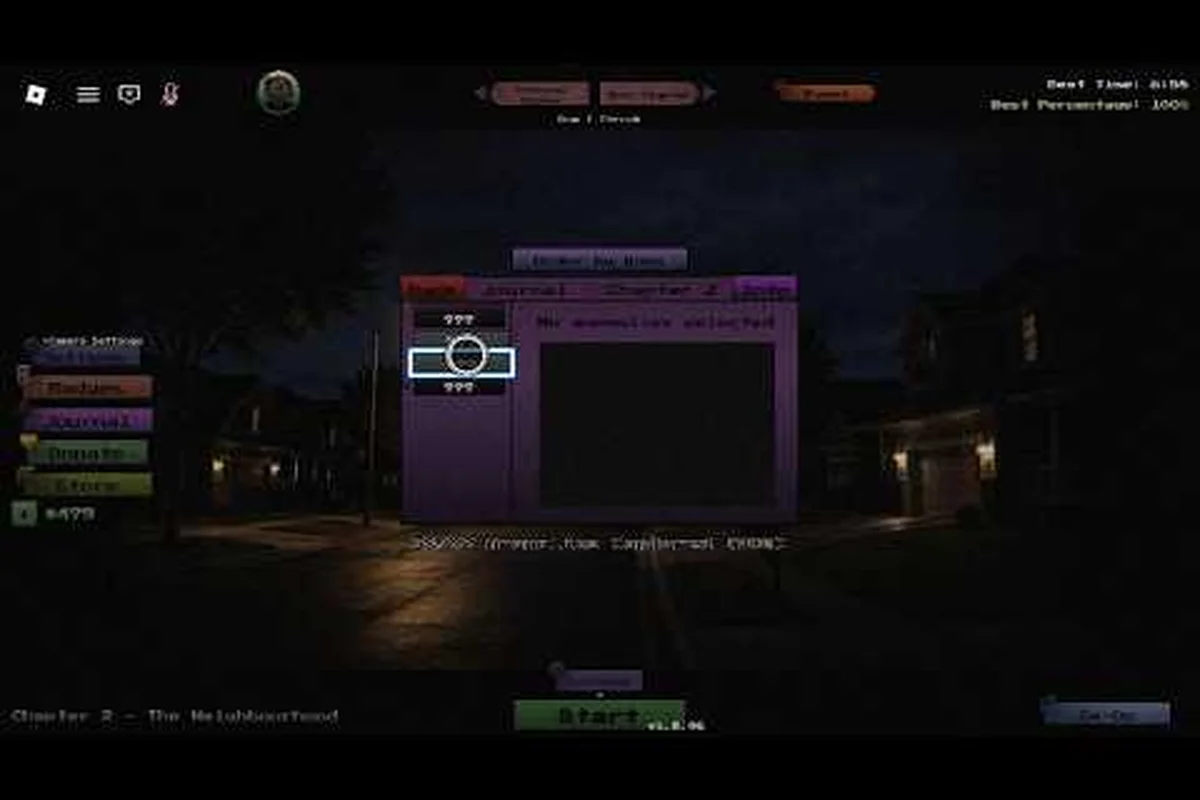
Anomaly Detected Smallest Map: Hidden Rooms, Secrets & Safe Spots
Find the Anomaly Detected smallest map packed with hidden rooms, easter eggs, and secret safe spots that reward careful observation over fast scanning.
Anomaly Detected Street View: Outside Areas, Windows & Big Maps
Explore Anomaly Detected street view zones outside the main buildings, learn which window angles reveal the biggest map layouts, and where anomalies hide outdoors.
Anomaly Detected Kitchen: Hallway Anomaly Hotspots
Pin down anomaly detected kitchen, hallway, and ward anomaly hotspots with room-specific cues that speed up every chapter's shift.