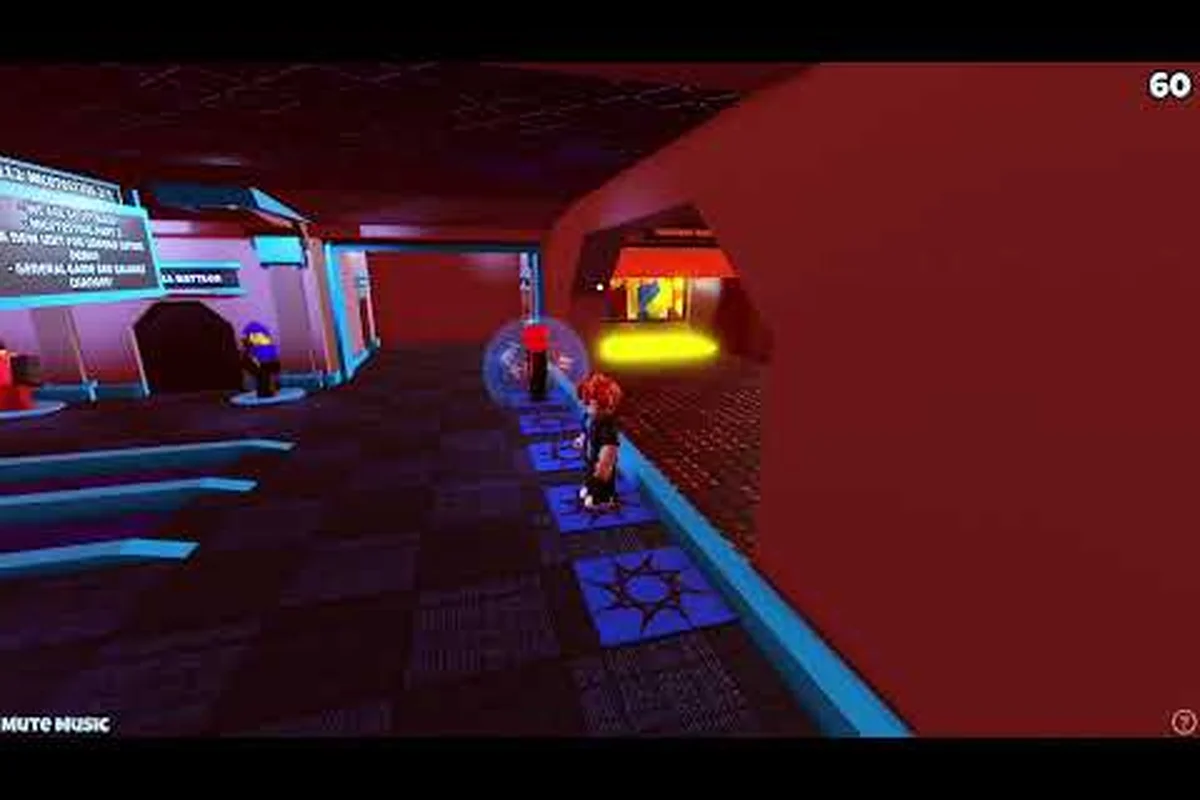
A new agent drops into the chair in front of a wall of monitors, and the night shift starts whether they are ready or not. This anomaly detected roblox guide shows exactly what those first sessions demand, how the surveillance loop actually works, and which habits separate a clean report from a wasted shift. The game frames every run as a "spot the difference" job across five themed chapters, and according to the Anomaly Detected game page, missing too many anomalies ends a shift for good, so the walkthrough below treats accuracy as the only stat that matters.
What Anomaly Detected Asks You to Do on Every Shift
Anomaly Detected, created by solo developer BanuTheCat under the X Core Studios group and first published on 25 June 2026, runs on a tight surveillance loop. Each shift, you watch a bank of camera feeds, memorize how every room should look, and report anything that has changed, moved, appeared, or disappeared. When the Error Meter fills, the shift ends permanently and the run is lost, so the goal is consistent accuracy, not speed.
The game currently lists around 1,932 concurrent players with 673,506 total visits and 30,306 favorites (community data, as of September 2026), which means a healthy community of agents trading tips. Sessions support solo play and co-op for up to eight players, and the developers recommend headphones because the audio cues are often the first hint that something on screen is wrong. Because so much rides on early recognition, building the right mental model is the single biggest step in any anomaly detected how to play strategy.
The Three Phases of Every Night Shift
| Phase | What Happens | Player Goal |
|---|---|---|
| Observation | You scan each feed and lock in the "normal" version of the room | Build a clean mental baseline before any anomaly can spawn |
| Anomaly Hunt | Subtle swaps, additions, or removals appear across the camera bank | Compare every visible change against your baseline, then report |
| Resolution | Each report either adds to the Error Meter or clears cleanly | Keep the error count under the threshold so the shift continues |
Understanding these three phases is the foundation of any anomaly detected beginner guide, because most failed shifts come from agents who skip straight to the hunt phase without a stable baseline. Treat the first minute of every shift as your setup window, not your reaction window.
Chapter Flow and How Progression Unlocks
Anomaly Detected ships with five themed chapters: Residence, Neighborhood, School, Hospital, and Mall. Each chapter has its own anomaly table and its own Journal to complete, and the difficulty climbs as you advance. If you are reading an anomaly detected full guide for the first time, treat the chapters as a difficulty ladder rather than a story.
Chapter 1 is the training ground. The anomaly pool is small, the swap patterns are obvious, and the Error Meter is forgiving. By Chapter 3 the room count jumps, the visual changes get subtler, and the same feed can contain more than one anomaly at once, which is where most new agents start failing shifts. Chapters 4 and 5 layer environmental noise, dynamic lighting, and crowd elements that actively hide the differences you are looking for.
Chapter Difficulty and Anomaly Density
| Chapter | Theme | Approx. Feeds | Visual Noise | New Mechanic Introduced |
|---|---|---|---|---|
| Residence | House at night | Low | Low | Baseline memorization |
| Neighborhood | Suburban street + homes | Medium | Low–Medium | Multi-feed anomaly timing |
| School | Hallways, classroom, gym | Medium | Medium | Crowded rooms with static NPCs |
| Hospital | Wards, OR, basement | High | High | Lighting shifts mid-shift |
| Mall | Stores, food court, parking | High | Very High | Distractor movement across feeds |
Reading the table top to bottom is essentially a pacing plan: stay in Chapter 1 until your baseline takes under 30 seconds per feed, and only move on when your error rate is close to zero. The single most common reason agents struggle with an anomaly detected how to win plan is rushing the chapter ladder.
Controls, Camera Layout, and Zoom Workflow
The whole game lives on a single monitor wall, and the camera layout is your workspace. Each panel shows one feed, and the controls let you cycle, zoom, and submit reports. Default keybinds are tuned for mouse-and-keyboard, but the layout works on controller too, and most veteran players end up on keyboard because the report flow is faster.
The most important control habit is the zoom scan. Every room has a "default look" that you can internalize in wide view, and every anomaly is easier to catch when you zoom into a specific zone rather than scanning the whole frame. That is why the community treats zoom techniques as their own skill layer, and an extended walkthrough of the technique lives in the broader anomaly detected beginner tips breakdown.
Core Controls Worth Memorizing First
| Action | Default Binding | Why It Matters |
|---|---|---|
| Cycle Feed | Q / E or D-Pad | Lets you move through the camera bank without losing your mouse cursor |
| Zoom Toggle | Scroll or Right Stick | Subtle swaps hide at default zoom; zoom in before reporting |
| Mark Anomaly | Left Click / A Button | Opens the report panel; double-check before confirming |
| Report Submit | Enter or X Button | Locks the call; misclicks add to the Error Meter |
| Reset View | Space or Y Button | Returns the feed to default zoom after scanning |
The workflow that consistently clears shifts is: cycle to a feed, scan the whole frame at default zoom to refresh your baseline, then zoom into suspicious zones and only then mark or skip. Agents who skip the first scan and go straight to zoom tend to over-report shadows and lighting as anomalies, which is one of the fastest ways to fail a chapter.
The Surveillance Loop Explained Step by Step
The full anomaly detected how to play loop is short once you have the controls down, but every step has a habit attached to it. Treat this as the canonical run sequence for any new shift.
-
Load the shift and read the briefing. The pre-shift screen names the chapter, the difficulty, and the error threshold. Note both before the cameras come up, because the threshold tells you how strict you need to be.
-
Run a baseline pass. Cycle through every feed once at default zoom. Do not zoom in or report yet, just refresh your memory of what every room looks like in its "normal" state.
-
Start a slow scan loop. Return to feed 1 and begin a second pass. This time, scan zone by zone — floor, walls, ceiling, props, lighting, NPCs — and only mark a change after you have actively compared it to your baseline.
-
Listen while you look. Headphones are recommended because audio stings, distant footsteps, and hums often play before a visual swap appears. Sound gives you a 1–2 second lead on visual confirmation.
-
Report with a confidence check. Before submitting a report, glance at the surrounding area to confirm the change is not a false positive. A wrong report costs more than a slow one.
-
Reset between passes. After clearing a feed, move on. Do not hover, because lingering on one camera often makes you second-guess clean rooms on the next pass.
How a Clean Pass Compares to a Sloppy One
| Habit | Clean Pass | Sloppy Pass |
|---|---|---|
| Baseline build | Full pass before any reports | Reports before baseline is set |
| Zoom usage | Zoom on suspicious zones only | Zoom everywhere, every pass |
| Report count per feed | 0–1, confirmed visually | 2–3, often duplicates |
| Error Meter at midpoint | 10–20% | 60–80% |
| Shift outcome | Survives to next chapter | Ends before the climax |
Reading those two columns back to back is the most honest version of an anomaly detected full guide you will find. The habits on the left are trainable in a single chapter, and they directly drive whether you make it to the climax or burn out in the first ten minutes.
Reading the Error Meter and Anomaly Cues
The Error Meter is the only number on screen that can end your run, so every other skill feeds into it. It ticks up when you miss a real anomaly, when you report a clean change as anomalous, or when you spam reports across a single feed. A clean shift holds the meter under 50% for most of the run and finishes well clear of the threshold.
Anomaly cues fall into three families, and learning to sort visual changes into those families early is a big part of any anomaly detected how to win strategy.
-
Subtle swaps — A prop is replaced with a near-identical version. Look for small label changes, color shifts on small objects, or rearranged furniture.
-
Additions or removals — Something that should be there is missing, or something that should not be there has appeared. Check floors for dropped items and walls for extra posters or stains.
-
Positional shifts — The layout of a room has moved slightly. Chairs face the wrong way, doors are open that should be closed, or windows are cracked that should be intact.
A common rookie mistake is treating every visual change as a positional shift, which is why zoom habits matter. Once you can name the anomaly type before you report, your error rate drops sharply, and that is the moment you can call your anomaly detected beginner guide run a real shift.
Building a First-Shift Routine That Survives the Harder Chapters
The chapters after Residence throw more feeds and more noise at the same five-minute loop, so the routine you build in Chapter 1 needs to scale. The agents who clear the Mall chapter on Veteran are not playing a different game, they are running the same loop with tighter habits and faster baseline recovery.
A good routine has three layers: a pre-shift checklist, a per-feed scanning order, and a recovery protocol for missed calls. The pre-shift checklist is your briefing read and a mental reset. The per-feed scan order is your zone list (floor → walls → props → lighting → NPCs). The recovery protocol is what you do when the Error Meter ticks, which is usually a 3-second pause and a slower pass through the most recent feeds.
Sample First-Shift Routine
| Step | Time Budget | Action |
|---|---|---|
| Briefing read | 10–15 s | Note chapter, difficulty, error threshold |
| Baseline pass | 60–90 s | Cycle every feed, default zoom, no reports |
| Active scan loop | 3–4 min per cycle | Zone-by-zone scan, zoom on suspicion, confirm before reporting |
| Audio check | Continuous | Headphones on, listen for sting and ambient changes |
| Error recovery | As needed | Pause, re-scan last 2–3 feeds, resume loop |
This routine is intentionally simple so it can survive the harder chapters. Once it is muscle memory, you can layer efficiency tricks on top of it, but never before. An anomaly detected how to play plan that tries to optimize before the loop is locked in usually collapses by the Hospital chapter.
Solo Play vs Co-op and When to Switch
Both modes use the same camera bank and the same Error Meter, but the cognitive load is very different. In solo play, one agent watches every feed and is responsible for every report. In co-op, feeds can be split across up to eight players, which reduces per-player load but introduces a coordination cost: a clean room can be reported twice, and a missed anomaly in someone else's quadrant can end everyone's shift.
If you are still building baselines and learning the anomaly families, solo play is the better trainer because you are forced to see every room on every pass. Once your Chapter 2 error rate is near zero, try co-op on the same chapter to get used to handoffs and shared reporting, then move both modes up the ladder together. The solo skill drills that make the biggest difference are covered in detail in the anomaly detected how to play solo walkthrough, which is a natural follow-up read after this guide.
Why Duo Runs Change the Reporting Rhythm
| Factor | Solo | Co-op (2–8 players) |
|---|---|---|
| Per-player load | High — all feeds | Low — feeds can be split |
| Baseline cost | High — one agent builds it | Shared — players can call out the "normal" state |
| Coordination cost | None | Reports can collide or duplicate |
| Best use case | Training, badge hunting, Journal cleanup | Faster clears, easier Hard/Veteran progression |
| Failure mode | Personal Error Meter | Group Error Meter, group wipe |
First-Shift Errors That End a Run Early
Most failed shifts share a handful of causes, and they are all visible if you know what to look for. A first-shift agent who avoids these five mistakes will outlast most veteran players who have never audited their own habits, and that is the real shortcut in any anomaly detected how to win plan.
-
Reporting before the baseline is set. Always finish the first full pass before you submit anything. Your first instinct on a fresh shift is almost always wrong.
-
Over-relying on default zoom. The wide view hides subtle swaps. If you cannot see the change at default zoom, zoom in before you mark, not after.
-
Treating audio as flavor. The sting and ambient hums are not atmosphere, they are cues. Agents who ignore sound miss the early frames of an anomaly.
-
Spam-reporting a single feed. Each feed has a small anomaly budget. If you have already reported twice on one camera, slow down and re-scan before submitting again.
-
Skipping the Error Meter check. Glance at the meter after every report. A slow shift with a low meter is a survivable shift, even if you miss a few calls.
These five habits cover the majority of first-shift failures, and they are the same habits that keep a clean run clean in the later chapters. Most agents will recognize at least two of them from their own failed shifts, and that recognition is usually the first real jump in accuracy.
Benchmarking Progress After Each Clear
Anomaly Detected rewards sustained accuracy, not lucky clears, and the progression path is best read as a loop rather than a line. Your first goal is to clear a single chapter with the Error Meter finishing under 25%. Your second goal is to clear the same chapter on the next difficulty with a similar meter reading. Once two chapters clear back to back, you can start chasing Journal completion and badge milestones.
The Journal system gives you a record of every anomaly you have ever confirmed, which makes it the best self-audit tool in the game. If your Journal is missing a specific anomaly type, that is the cue to spend an extra shift practicing the room where it appears. Community reports of completion times cluster around 30–45 minutes per chapter on Normal difficulty, with Hard and Veteran runs scaling toward 60–90 minutes for less experienced agents.
Progression Milestones Worth Tracking
| Milestone | Target Metric | What It Tells You |
|---|---|---|
| First clean shift | Error Meter under 25% on Normal | Your baseline loop is solid |
| Two-chapter streak | Clean shift on Chapters 1 and 2 | You are ready for the difficulty jump |
| Journal completion | All anomalies in a chapter logged | You have seen the full anomaly table |
| Hard clear | Clean shift on Hard difficulty | Your scan speed can keep up with the feed count |
| Veteran clear | Clean shift on Veteran | You have full control of the loop |
Reading those milestones in order gives you a clean grading rubric for your own runs, which is far more useful than chasing a single "win." Any anomaly detected full guide worth its title will tell you to grade yourself by consistency, and that is exactly what this table measures.
Frequently Asked Questions
How long is a single shift in Anomaly Detected?
A single shift typically lasts 10–20 minutes depending on chapter and difficulty, based on community runs reported on Normal. Hard and Veteran pushes the time closer to 25–35 minutes because anomaly density is higher, so plan a session around a chapter rather than a clock.
What is the best difficulty for new agents in this anomaly detected beginner guide?
Start on Normal, even if you have played spot-the-difference games before. Normal has the lowest anomaly density and the most forgiving Error Meter, which lets you build the baseline habit without burning runs. Bump up after two clean Chapter 2 shifts, not before.
Do I need a specific setup to play Anomaly Detected well?
You need a screen large enough to see detail on small camera panels and headphones to catch the audio stings. Beyond that, a mouse gives faster report flow than a touchpad, but a controller is fully supported. There is no required spec list because the game runs on standard Roblox hardware.
Can I complete the Journal by playing only one chapter?
Yes, each chapter has its own Journal, so a focused agent can clear one Journal at a time. That said, anomalies from earlier chapters sometimes recur as callbacks in later chapters, so a partial Journal in Chapter 1 can fill in organically during a Chapter 3 run. If you want a guaranteed completion, work chapter by chapter and log every confirmed anomaly.
How do I recover from a shift where the Error Meter spikes early?
Slow the scan loop down by 20%, drop back to default zoom for one full pass, and reset your baseline on the feeds you have not visited recently. A spike is usually caused by a premature report, not a true miss, so the recovery is to re-establish the normal state of the rooms and resume the standard loop. Do not switch chapters to "reset" — the habit is the fix, not the location.