Chapters
Anomaly Detected chapter walkthroughs for The Residence, The Neighbourhood, The School, The Hospital and The Mall, with per-room routes and clear-rate data.
Introduction
Chapters covers the five live contracts in release order, and it is the section to read once you understand how a single shift works. Each contract drops you into a different building with its own anomaly pool, and clearing one is the only way to unlock the next, so progress is strictly linear. What changes between chapters is not the rules but the geometry. The Residence is a bedroom-focused set with a small number of feeds and a forgiving clear rate, which is why roughly half of all attempts finish it. The Neighbourhood moves outdoors and adds street, driveway and window anomalies that are easy to lose in a wide frame. The School introduces long corridors where distant anomalies are visible but tiny, and the clear rate drops below ten percent. The Hospital is the hardest contract currently live, with glass partitions and reflective surfaces that hide figures until they move. The Mall arrived most recently and is the largest map, with storefront and escalator spaces that reward a group splitting the feed bank. Reading each chapter guide before queueing changes the experience: instead of learning the building under time pressure, you arrive already knowing which rooms deserve the most camera time.
Chapter Release Timeline
| Chapter | Location | Released | Clear Rate |
|---|---|---|---|
| Chapter 1 | The Residence | Jun 28, 2026 | 48.1% |
| Chapter 2 | The Neighbourhood | Jul 13, 2026 | 14.9% |
| Chapter 3 | The School | Aug 25, 2026 | 8.5% |
| Chapter 4 | The Hospital | Sep 4, 2026 | 4.1% |
| Chapter 5 | The Mall | Sep 12, 2026 | No data yet |
Chapter Contracts
The Residence
Chapter 1 — the tutorial contract
The Neighbourhood
Chapter 2 — outdoor cameras
The School
Chapter 3 — long corridors
The Hospital
Chapter 4 — the hardest live contract
The Mall
Chapter 5 — added Sep 12, 2026
Core Mechanics
Chapter progression in Anomaly Detected is linear, and that single design choice shapes how you should approach the game. You cannot skip The Residence to reach The Hospital, and you cannot carry a cleared contract forward — each one has to be beaten on its own terms before the next unlocks. The practical consequence is that every chapter is both a test and a tutorial for the next: The Residence teaches the baseline sweep, The Neighbourhood teaches wide-frame discipline, The School teaches zoom, and The Hospital forces you to read reflections. Difficulty is layered on top rather than replacing any of this. Every chapter can be replayed on Rookie, Normal, Advanced and Veteran, and the tiers change the reporting window and spawn rate rather than introducing new mechanics, which means a contract you understand does not become a different game when you raise the tier. Badge structure mirrors the same three axes: each chapter carries a completion badge on Normal, a Veteran badge for the top tier, and a journal badge for logging every anomaly in that location at least once.
Advantages
The clearest advantage of working through chapters in order is that the difficulty curve is honest. Each contract introduces exactly one new conceptual challenge and gives you a small, readable anomaly pool to practise it against, so the skill you build on The Neighbourhood is the one you need on The School. Chapter-focused preparation also makes badge chasing far more efficient. Because completion, Veteran and journal badges are all per-location, knowing a single chapter deeply lets you pursue three different goals on the same map instead of relearning a building for each one. The clear-rate data in this section adds a second kind of advantage: it tells you honestly where you are likely to fail. A player who knows that Chapter 4 clears at roughly four percent will not read a personal failure streak as a skill problem when it is simply the expected outcome. Finally, later chapters are where co-op pays off most, and knowing a map room by room is what makes splitting the feed bank between players actually work rather than just dividing a crowd.
Challenges
The obvious cost of a linear contract structure is that a wall in one chapter stops everything. A player who cannot clear The Hospital cannot see what The Mall contains, and because the Hospital clears at around four percent, that wall is genuinely high for a solo player. Clear-rate data is also double-edged: it is drawn from badge award statistics, which count awards against visits rather than against completed attempts, so the percentages understate how often a player who actually finishes runs succeeds. The newest chapter is a different kind of limitation. The Mall was added recently, so its anomaly pool is still being catalogued, its clear rate is not yet meaningful, and any guide written about it now will need revision as the developer patches the balance. Finally, chapter knowledge is perishable in the strictest sense — pools get rebalanced and new anomalies are added to old contracts, so a route learned three patches ago can quietly stop matching the live build.
Frequently Asked Questions
Do I have to finish a chapter to unlock the next one?+
Which chapter should I farm for journal completion?+
Is The Mall worth playing right after release?+
Quick Tips
Build a baseline before you attempt a serious clear on any new contract. The first run on a fresh chapter should be reconnaissance, not a clear attempt: walk every camera, memorise the anchor objects, and accept that you will probably fail the shift. That first failure is the cheapest information you will ever get on a map.
Replay a cleared chapter on a higher tier rather than jumping straight into the next location. The tier changes the reporting window and spawn rate without adding new mechanics, so it isolates difficulty from unfamiliarity and tells you honestly whether your sweep is actually fast enough. It separates difficulty from unfamiliarity, so the result tells you something useful about your own sweep either way.
Bring a co-op lobby to the ward-style maps and split the feeds by room rather than by camera. The Hospital and The Mall both punish a single watcher because reflections and busy storefronts need deliberate attention, and a fixed slice per player is what keeps every camera genuinely covered. A fixed slice per player is what keeps every camera covered, and it also stops two people watching the same room.
Featured
Anomaly Detected All Chapters: Order, Maps & Levels
Tour every anomaly detected all chapters map from The Residence through The Mall, with chapter order and a starter walkthrough for new agents.
Anomaly Detected Chapter Release Order: Unlock Path & Rewards
Track the full Anomaly Detected chapter release order, see how to unlock chapters 2 through 5, and learn which completion rewards arrive at every stage.
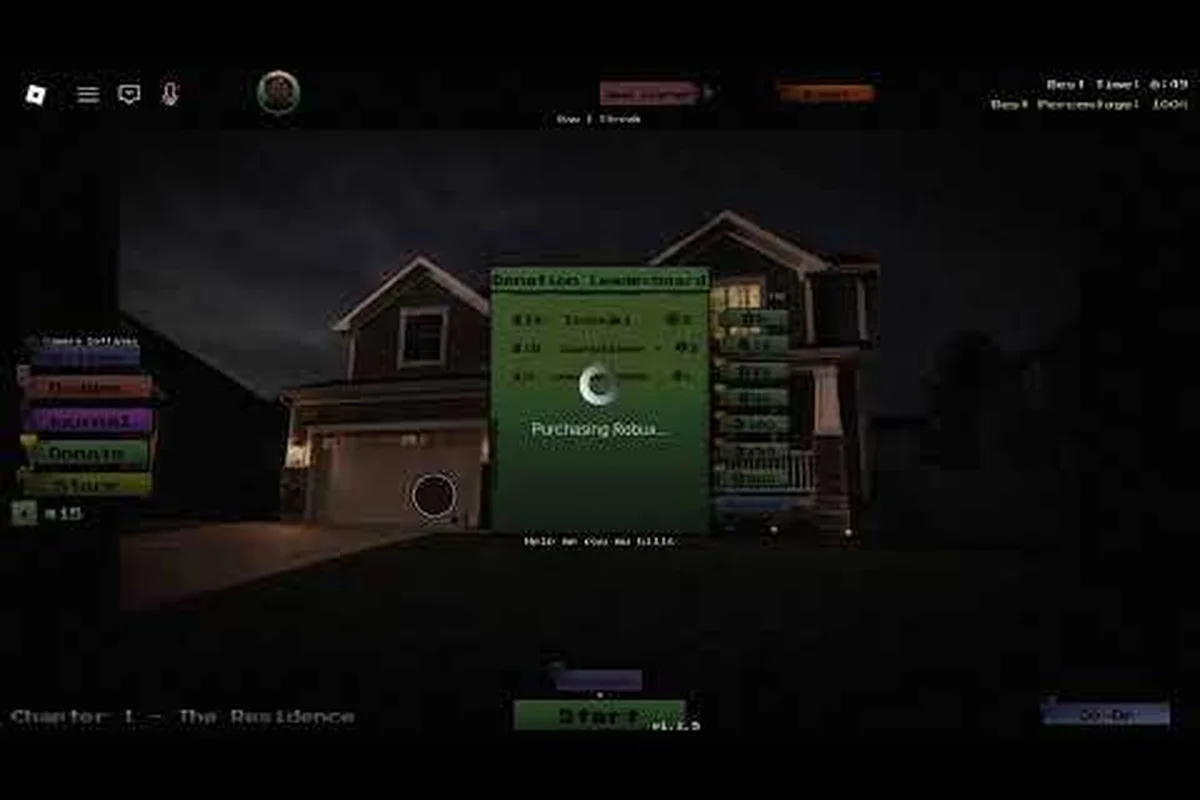
Anomaly Detected Chapter 2 Guide: The Neighbourhood
Master anomaly detected chapter 2 guide content in The Neighbourhood with spawn maps, shift priorities, and the route that carries agents into Chapter 3.
All Articles
Anomaly Detected Best Chapter to Farm: XP & Routes
Find the anomaly detected best chapter to farm by comparing XP payouts, anomaly density, and repeat-run routes that speed up contract progress.
Anomaly Detected Chapter 3: The School, Anomalies & Speedrun
Clear anomaly detected chapter 3 at The School with classroom anomaly maps, contract priorities, and the speedrun path that unlocks Chapter 4 fastest.
Anomaly Detected Chapter Clear Rate: Hardest, Easiest & Tips
Compare Anomaly Detected chapter clear rates, find the hardest and easiest maps, and grab per-chapter tips that push Normal, Advanced, and Veterans runs to 100%.
Anomaly Detected Chapter 4 Tips: Ward Anomalies & Prep
Lock down anomaly detected chapter 4 tips with ward-specific anomaly lists, camera strategies, and the prep steps that carry agents into The Hospital.
Anomaly Detected Contract List: Every Contract & Reward
Browse the full Anomaly Detected contract list with objectives, chapter locks, and the rewards tied to every task so collectors can plan their grind efficiently.
Anomaly Detected Hospital Shift: Survival Routes & Scares
Survive anomaly detected the hospital with ward-by-ward routes, anomaly hotspots, and a walkthrough that links straight into The Mall.