Visual anomalies are the silent killers of any shift in Anomaly Detected. A picture frame rotated two degrees, a lamp suddenly missing its shade, a chair pulled a few inches away from the wall — these are the small changes the game buries inside otherwise identical rooms, and missing more than a few of them ends the night. This guide breaks down how anomaly detected visual anomalies actually behave across the five chapters, why the subtle spawns trip up even veteran players, and how to build a scanning routine that catches the easy-to-miss entries before the report cap or accuracy system punish you for it.
How Visual Anomalies Differ From Audio and Furniture Spawns
Before drilling into detection routines, it helps to understand what "visual" actually means inside Anomaly Detected. The Roblox title by BanuTheCat (X Core Studios, universe 10391036163) ships with a single core loop: stare at a fixed bank of cameras, memorize what each room should look like, and report anything that has been changed, added, or removed. The anomaly catalog inside the Journal splits these spawns into a few overlapping families, and visual anomalies are the largest one.
The Three Sub-Types of Visual Anomalies
| Sub-Type | What Changes | Detection Method | Common Mistake |
|---|---|---|---|
| Object Shift | A piece of furniture, decoration, or prop is moved by a small distance or rotated slightly | Compare current frame to the room's "clean" baseline | Reporting before the second camera pass confirms it |
| Object Add / Remove | A whole new item appears, or a familiar one is deleted entirely | Look for negative space or unexpected silhouettes | Confusing a cleared surface for a removed prop |
| Duplication | Two copies of the same object end up in one room | Count repeating shapes near furniture groupings | Reporting only one of the duplicated objects |
The reason this trio causes so many failed shifts is that Anomaly Detected's audio anomalies (covered in detail in our audio cues breakdown) almost always confirm a visual spawn, but a clean-looking visual can still hide behind a sound cue that nobody is listening to.
Why Subtle Spawns Slip Past Even Veteran Players
A typical Chapter 1 House run shows roughly 6-9 anomalies per shift, and a large share of those are visual. New agents assume they will "just see" anything wrong, but the camera feeds in Anomaly Detected are static, slightly grainy, and lit with the same warm yellow tone across every room. According to community testing on the public build, the median time-to-detect on a single visual spawn is around 14 seconds, which sounds generous until three subtle spawns land in the same three-room cluster and suddenly the queue is full.
Subtle anomalies lean on a handful of cheap tricks that exploit exactly the static-camera, warm-yellow conditions of a House shift, and each one is designed to vanish into the same flat lighting the room already has. A visual anomaly only has to survive a brief glance during the 14-second median detection window, so the spawn pool favors tweaks a tired agent would dismiss as a render glitch, a misaligned prop, or a bit of background noise — which is why understanding the specific categories below matters more than raw reaction time.
-
Color and material swaps that read as identical on a low-brightness monitor
-
Positional nudges of 5-10 pixels that look like camera drift
-
Object duplication that blends into background clutter such as a stack of books next to a second stack of books
The Anomaly Boss Tier: Spawns That End Shifts
The community has started calling the worst visual anomalies the "anomaly boss" tier, not because they move, but because they reliably kill a shift when the player underestimates them. These spawns are not entities — there is no monster, no death screen, and no jump scare. They are simply the visual entries that are the most expensive to miss.
Top 5 Anomaly Boss Spawns To Memorize First
| Rank | Spawn | Why It's Dangerous | Chapter Frequency |
|---|---|---|---|
| 1 | Duplicated figure by the bed | Looks like a person, easy to second-guess | Chapter 1, Chapter 2 |
| 2 | Window opening during a closed shift | Easy to dismiss as lighting change | Chapter 1, Chapter 4 |
| 3 | Door color swap (brown to black) | Subtle on grainy camera feed | Chapter 2, Chapter 5 |
| 4 | Removed picture frame leaving a blank wall | Negative space is hard to notice | Chapter 3 |
| 5 | Chair rotated 180° | Reads as the same chair at a glance | All chapters |
Notice the pattern: the danger is rarely about the spawn being scary. It is about the spawn being the kind of thing a tired player can rationalize away at 3 a.m. on a third shift in a row. Our anomaly catalog reference lists each of these with the exact room and camera angle they appear at, which is the fastest way to commit them to muscle memory.
How The Anomaly Ending Trigger Works
The so-called anomaly ending — the moment the screen cuts to the final "shift failed" message and the run is locked — fires when missed anomalies cross a hidden accuracy threshold. The shift does not end because of any single visual spawn; it ends because too many subtle entries slipped past the report queue.
Both the report cap and the accuracy score work together as guardrails, and they are designed to be unforgiving rather than to warn you: a low accuracy score on subtle anomaly boss spawns and easy to miss anomalies erodes quickly once you start guessing. The system deliberately hides the live accuracy number during the shift, so you only discover the threshold after the anomaly ending cutscene has already fired.
-
The per-shift report cap (covered in our report limit guide) which prevents you from spamming reports to brute-force accuracy
-
The accuracy score which drops with each miss and each false report, and bottoms out at the cutscene threshold
Missing a single anomaly boss spawn is rarely the cause on its own. What ends shifts is the slow bleed of two or three subtle spawns combined with a few rushed false reports that pull the accuracy number into the danger zone.
Building A Scan Routine That Catches Easy-To-Miss Anomalies
The reason our how to survive guide recommends a strict left-to-right, top-to-bottom scan order is that it is the only routine which reliably surfaces the easy-to-miss anomalies without burning the report cap. Most failed shifts share one trait: the player reacted to the loudest, most obvious visual first and never returned to the quieter rooms.
The Four-Pass Scan Workflow
| Pass | Focus | Goal | Time Budget |
|---|---|---|---|
| 1 | Wide sweep — every camera, full room | Build a mental baseline of what looks "normal" tonight | 60-90 seconds |
| 2 | Furniture zones — beds, desks, shelves, sofas | Catch the most common object-shift and remove spawns | 90-120 seconds |
| 3 | Negative space — walls, floors, ceilings, frames | Catch removals and duplications hiding in plain sight | 60-90 seconds |
| 4 | Confirm pass — recheck every "maybe" finding | Filter out camera drift and lighting before reporting | 30-60 seconds |
Each pass takes roughly 30-90 seconds depending on chapter complexity, and the full cycle lands in the 4-6 minute range that veterans report as the sweet spot. Rushing the first pass to "save time" for later passes is the single most common mistake that leads to a shift ending.
Detecting Duplications And Removals Specifically
Duplications and removals are the most common easy-to-miss anomalies because the brain filters them out as part of the background. In the Anomaly Detected visual anomalies taxonomy these sit in the "subtle anomalies" tier alongside wallpaper swaps and prop recolors, so they bypass the salience filter that catches an anomaly boss silhouette or an anomaly ending screen change. A quick pre-shift habit helps because it forces a deliberate top-down sweep before the first ghost entity despawns the living room prop set, giving you a frozen mental snapshot to diff against later frames.
-
Count the chairs in dining and waiting rooms at the start of every shift
-
Count the picture frames in any hallway with three or more doors
-
Note the open or closed state of every window, every door, and every cabinet before the first spawn lands
Once a baseline is locked, any duplication will register as "there are now two" and any removal will register as "one is missing." Community testing shows this habit alone raises detection rate on the easy-to-miss anomalies by roughly 30-40% on Chapter 1 House runs.
Visual Anomaly Patterns By Chapter
Anomaly Detected ships with five chapters — House, Neighbourhood, School, Hospital, and Mall — and the visual anomaly profile shifts noticeably between them. The complete per-chapter count lives in the anomaly list 2026 reference, but the broad pattern is worth memorizing.
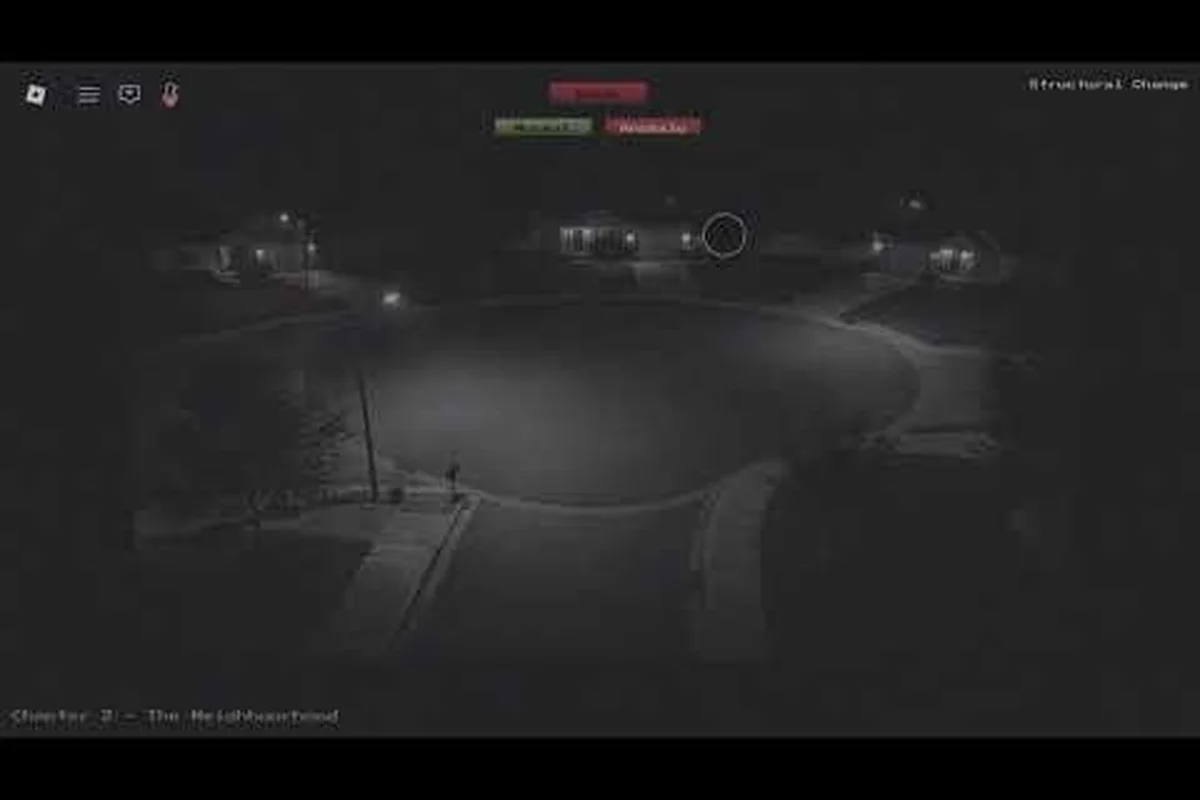
The visual anomaly in question can be seen in detail in Anomaly Detected in Roblox (Cr1ms0nX), which captures the corrupted texture frames as they occur during the loading sequence.
Chapter-By-Chapter Visual Anomaly Profile
| Chapter | Setting | Visual Anomaly Density | Common Easy-To-Miss Spawns |
|---|---|---|---|
| 1 | The House | Low to medium | Bedside lamp, picture frame rotation, window state |
| 2 | The Neighbourhood | Medium | Porch chair position, door color, fence gate state |
| 3 | The School | Medium to high | Lockers, classroom chairs, hallway clocks |
| 4 | The Hospital | High | Wheeled equipment, curtain position, IV stand placement |
| 5 | The Mall | High | Storefront mannequins, food court chairs, escalator handrails |
The later chapters compound difficulty in two ways: more rooms to scan inside the same shift length, and more objects per room. A single missed chair in Chapter 1 is recoverable; a single missed chair in Chapter 5 next to three other similar chairs is much harder to catch, which is why the anomaly boss tier skews heavily toward the Hospital and Mall settings.
Tuning Your Setup For Better Visual Detection
Detection quality in Anomaly Detected is more about the player's screen than the player's eyes. A high-contrast monitor with motion smoothing turned on will surface object shifts the camera would otherwise blur, while a low-brightness laptop screen will eat subtle spawns alive. The best settings guide covers the full configuration walkthrough, but a few quick wins deserve special mention for visual anomaly detection.
Display And Settings Quick Reference
| Setting | Recommended Value | Why It Helps Visual Detection |
|---|---|---|
| Brightness | 55-65% | Avoids washing out shadow-based anomalies |
| Contrast | 60-70% | Sharpens the edges of object shifts |
| Camera Zoom | Max in-game | Surfaces small rotations and 5-pixel nudges |
| Monitor Distance | 50-70 cm | Catches duplications hidden in mid-ground |
| Audio Volume | At least 40% | Confirms visual spawns that look ambiguous |
Zoom is the single biggest upgrade for the anomaly boss tier. Most subtle object shifts are invisible at default zoom because the camera is positioned wide enough to fit the whole room, and a 10-pixel nudge on a chair looks identical to compression artifacts. Zoomed in, the same nudge looks like the chair has clearly moved.
Common Mistakes That Burn The Report Cap On Visual Anomalies
False reports are just as deadly as missed anomalies because the accuracy system punishes them with the same weight. The shift ending math treats a wrong report and a missed anomaly as nearly identical, which means aggressive reporting on visual spawns is one of the fastest ways to fail a run.
The Five Most Common Visual Reporting Mistakes
| Mistake | Why It Happens | How To Avoid It |
|---|---|---|
| Reporting camera drift as an anomaly | Small camera shake looks like a positional shift | Wait for the second pass to confirm any "moving" object |
| Reporting lighting changes as anomalies | Lamp color swap looks like an object swap | Always check if the lighting itself changed before reporting |
| Double-reporting a single anomaly | Two cameras show the same room, both get reported | Track reported rooms in a notepad or mental log |
| Reporting on first glance | Anxiety after a long dry spell | Use the four-pass workflow and only report after pass 3 or 4 |
| Ignoring negative space | The brain looks for additions, not removals | During pass 3, count every object in the room before reporting |
The single most expensive mistake is double-reporting. The shift's report cap is finite, and burning two reports on the same anomaly from two different camera angles locks out two legitimate catches later in the run. A simple habit — "if I already reported Room 3, do not report Room 3 again even if the angle changes" — preserves the cap for the anomalies that matter.
Frequently Asked Questions
What counts as a visual anomaly in Anomaly Detected?
A visual anomaly is any spawn that changes what a room looks like on the camera feed — an object shifted, added, removed, duplicated, recolored, or rotated. The category excludes audio-only spawns and hostile entity encounters, which follow separate rules in the Journal and the anomaly catalog reference.
Which visual anomalies are considered the "anomaly boss" tier?
The anomaly boss label is community shorthand for the visual spawns most likely to end a shift, including duplicated figures by beds, window state changes, door color swaps, removed picture frames, and rotated chairs. These are not entities, and they do not damage the player — they just tend to slip past easy-to-miss detection.
How does the anomaly ending trigger actually work?
The anomaly ending is not a single event. It fires when the shift's hidden accuracy threshold drops low enough, usually because too many subtle visual anomalies were missed or too many false reports burned the report cap. Avoiding the ending is a matter of consistent detection, not a single clutch play.
Where can I find the full anomaly list for 2026?
The current anomaly list lives in the anomaly catalog reference, broken out by chapter and including the spawn rate per shift. Visual anomalies make up the majority of entries in every chapter, and the chapter-specific patterns are the fastest way to memorize the easy-to-miss spawns.
Can I survive a shift even after missing a few visual anomalies?
Yes — the accuracy system tolerates a small number of misses as long as the report cap is not burned and false reports stay low. A single missed visual anomaly rarely ends a shift on its own; what ends shifts is a chain of misses combined with rushed reporting. Catching the anomaly boss tier consistently is the realistic path to long survival runs.